What Size to Cut Material for Mason Jars
Create your ain material jar covers for less than $5…in less than an hour! This may exist my favorite DIY yet!
(I've merely washed two other DIY projects this year, so being my "favorite" isn't that big of a feat. Although my DIY Framed Chalkboard Dinner Menu and DIY Framed Speech Bubbles are pretty beautiful.)
I've been canning upwards a storm this summer. (Yous can discover my canning tips for beginners in a previous web log post.)
Since canned goods stay fresh for at least a year, I have grand plans of giving every friend and family member a homemade jar for Christmas this year. I'll probably be giving them out for birthdays, housewarming parties, and new babies too.
I wanted to come up upwardly with a cute, like shooting fish in a barrel way to cover and characterization my canning jars.
My super-crafty Mom told me that she made fabric covers for all of my Grandma'due south homemade canned goods in the 80'due south and 90'due south. Genius!

I may not have inherited my Mom's crafts skills and attending to detail, but this is a DIY fifty-fifty I tin pull off. (Let's be real. Well-nigh days I'd rather be running or cooking than crafting.)
I went to my local craft store and spent a whopping $4.00 on fabric, ribbon, and tags. Cute AND cheap?! Wahoo!
Here's everything you lot demand to brand textile jar covers for one batch of homemade peach tiresome cooker jam. (These covers would too look cracking on the Slow Cooker Strawberry Jam and Slow Cooker Applesauce in my newest cookbook.)

DIY Cloth Jar Covers
Materials
- Glass jars that are total of love and yummy, bootleg canned appurtenances
- One fabric "fat quarter" – You'll notice these in the quilting section of the arts and crafts store. Each 1 measures about 18″x22″ and there are four fat quarters per yard of cloth. (You can also use scrap fabric or fabric by-the-yard.) 1 fatty quarter is enough textile to cover nine, 8oz jelly jars – or 12, 4oz jelly jars or 4 quart-sized jars.
- One 10-yard spool of elastic ribbon that is ane/8″ wide or thinner – This is enough ribbon for 16, 8oz or 4oz jelly jars or 15 quart-sized jars.
- Tags to label your jars (I used uncomplicated white circles that were 2″ in bore.)
- Cloth pinking shears
- A pencil (to trace circles on your fabric)
- A pen or marker (to write on your tags)
- Something round that you tin can trace onto your fabric that is 2″ wider than the lids of your jars (like a coffee can or tupperware lid)
- One hair necktie or rubber band that fits securely around the top of your jars
Directions
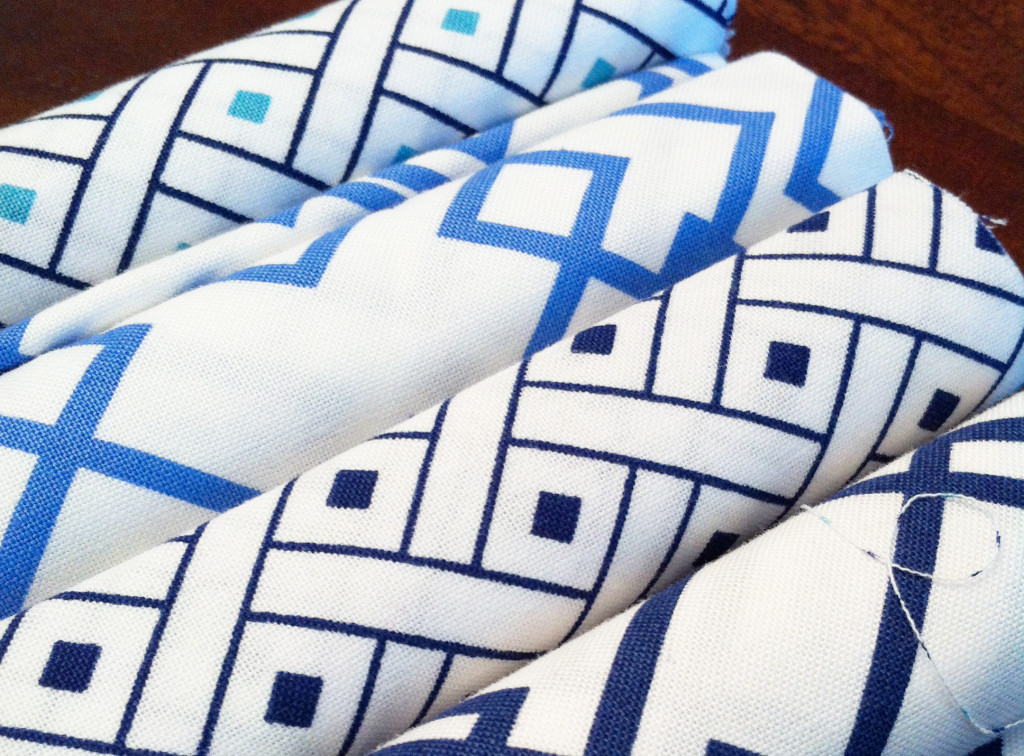
1. Fe your fabric to get rid of whatever lines and creases.
Y'all'll need to atomic number 26 your fat quarter considering they come rolled upward like this. I bought four considering I have a lot of jars to cover.
(Don't you just love the patterns that I picked?!)
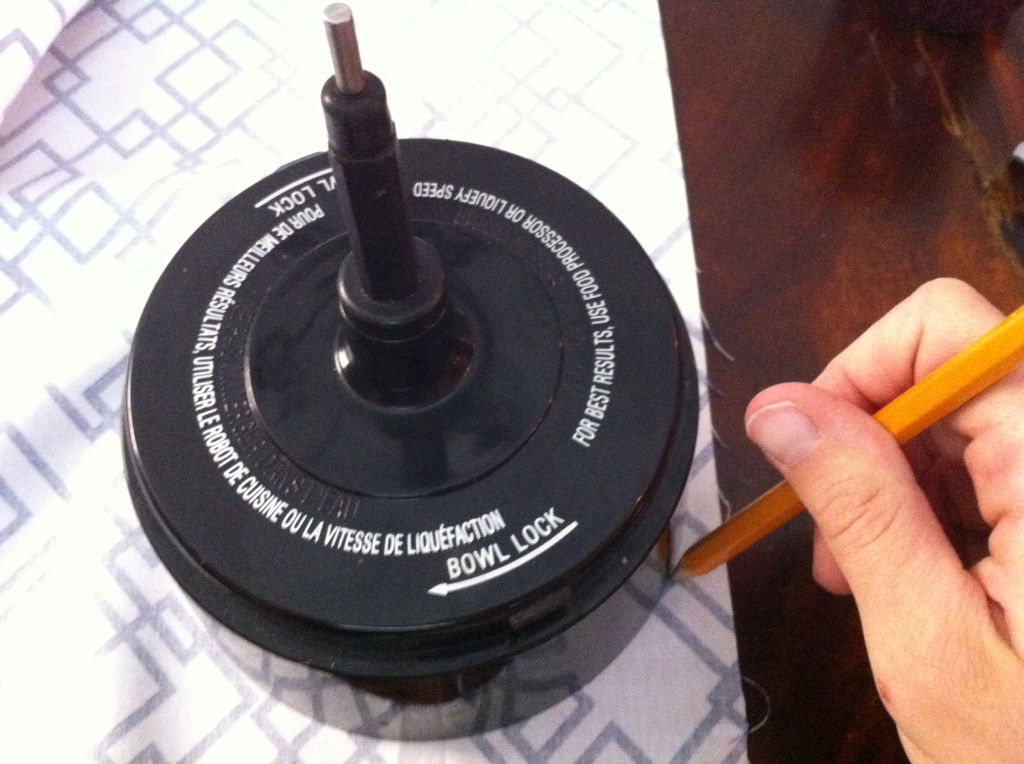
ii. Identify your round household item on the behind of your material and trace your circles with a pencil.
(It's of import that your item is ii″ wider than your jar lids because you lot want about an inch of extra fabric to hang down on each side of your jar.)
For 8oz jelly jars, y'all'll want to depict circles that are about 5.5″ wide. (For 4oz jelly jars, you'll want circles about four.75″ wide and for quart-sized jars, you'll want your circles to be well-nigh 8″ wide.)
I ended up using a part of my food processor. (Random, I know.)
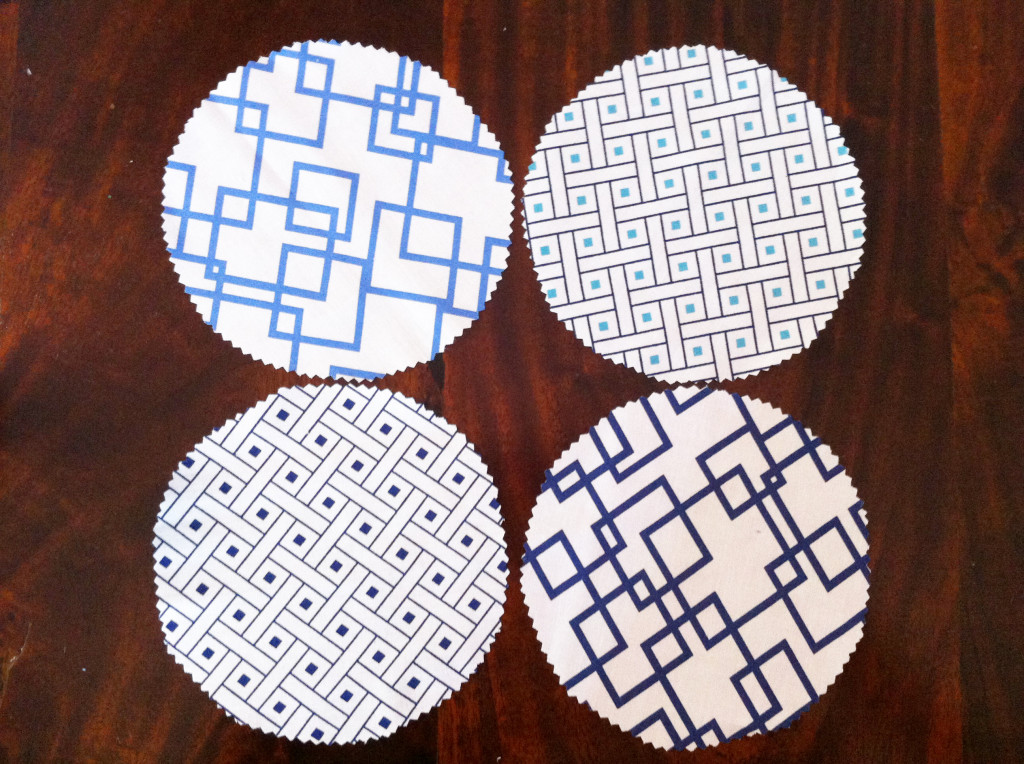
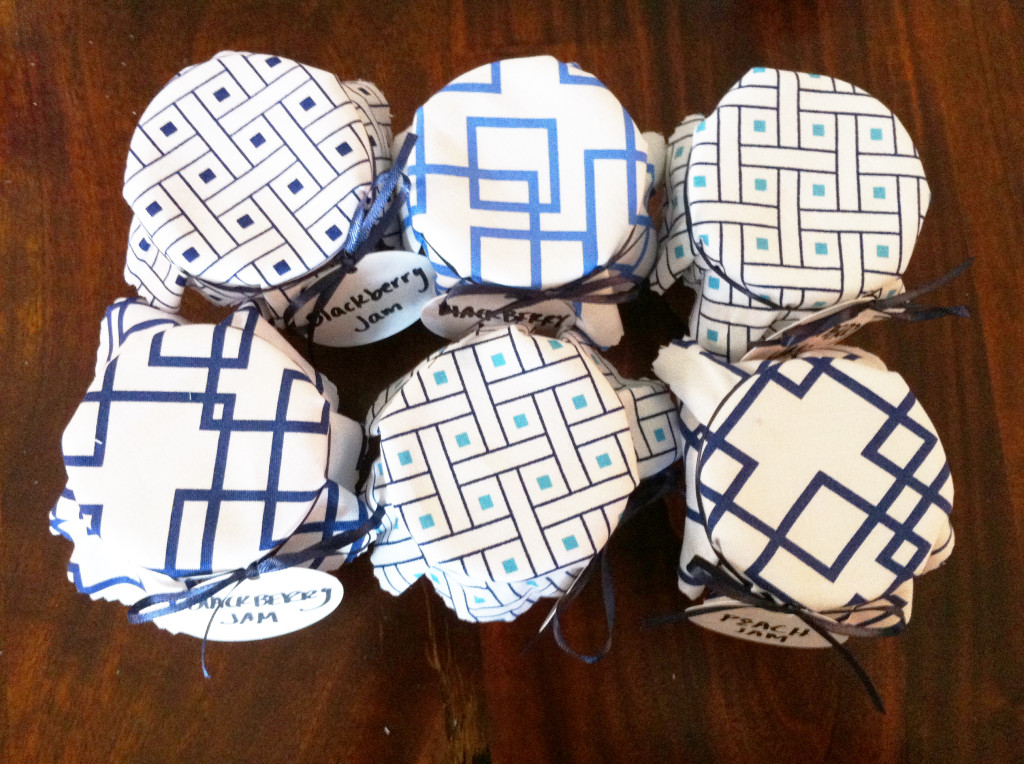
3. Cut out the circles with your pinking shears.
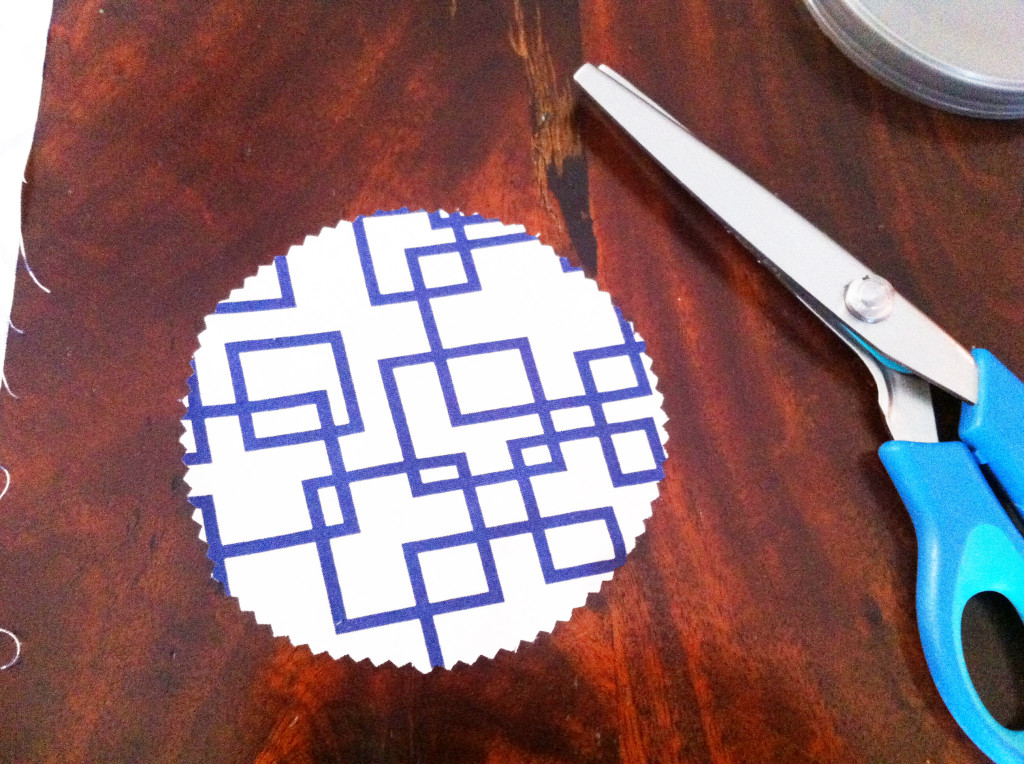
(I'm a sucker for modern, geometric prints.)
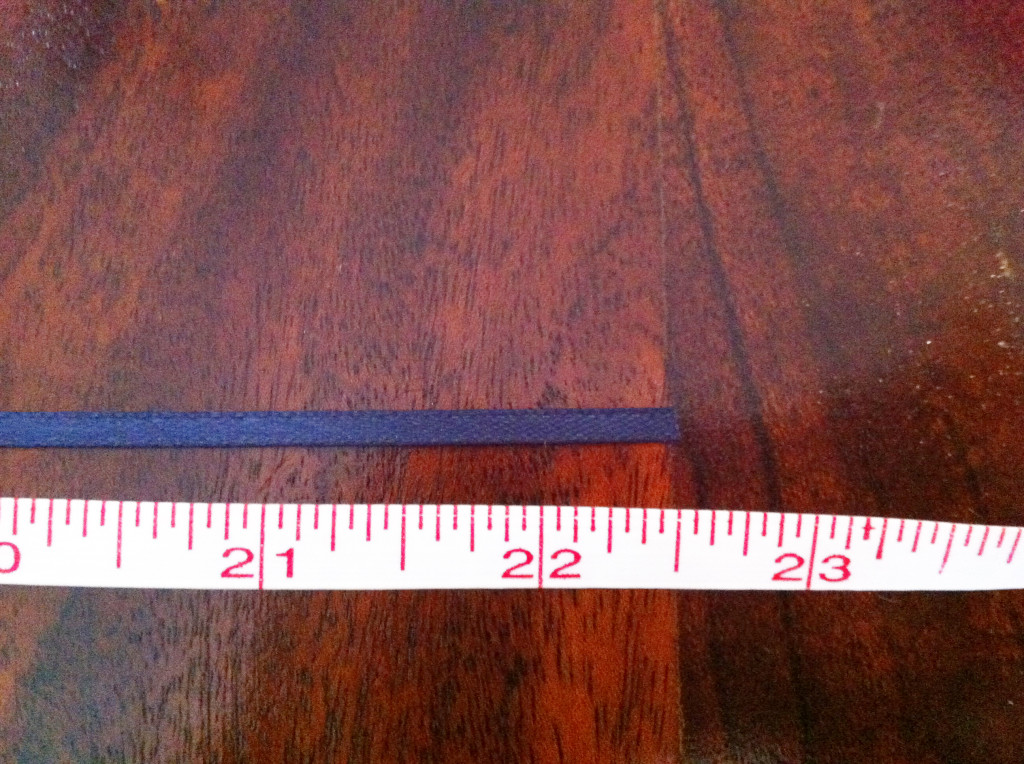
4. Cut your ribbon into strips that are 22.5″ long.
This is for 8oz or 4oz jelly jars. (You'll need 24″ strips for quart-sized jars.)
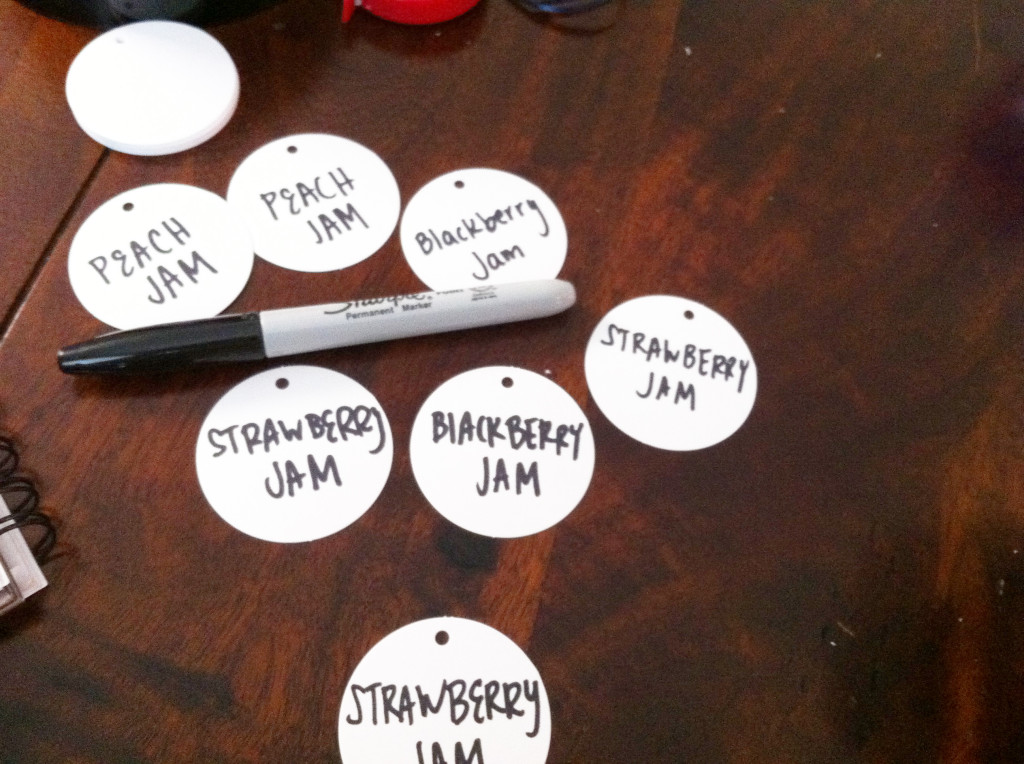
v. Write on your tags.
Here are the ones that I bought.

I and then wish my handwriting was neater and libation than this. (Is at that place such a affair as handwriting school for adults?!)
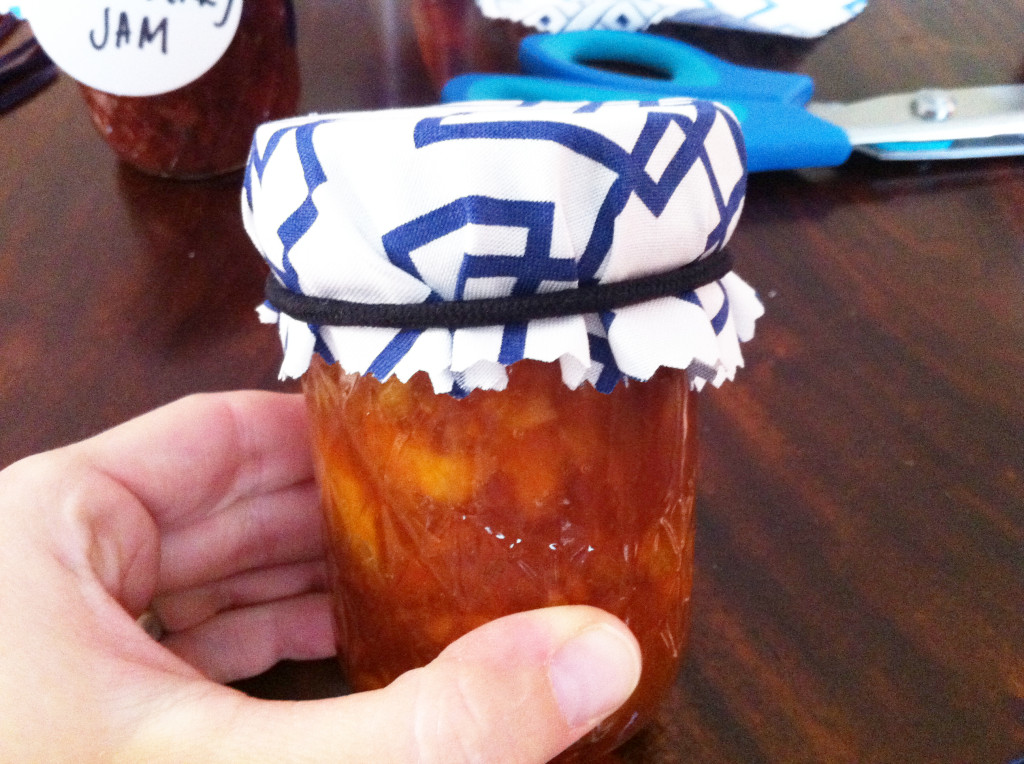
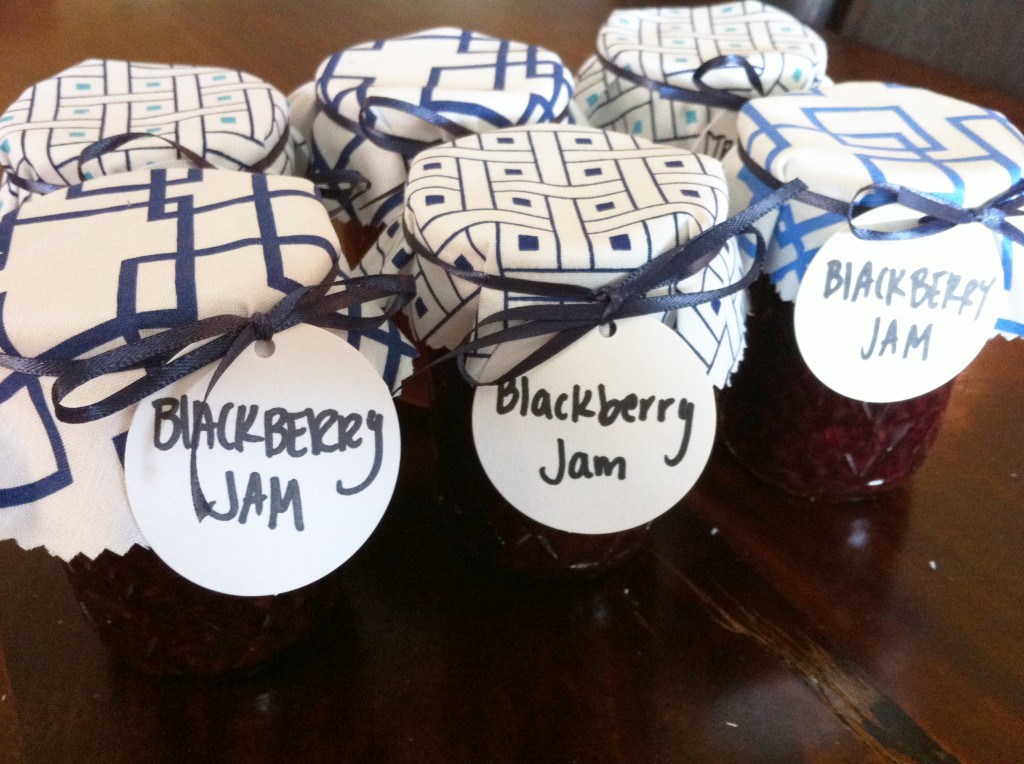
6. Pick up your showtime jar and center a material circle on the top. Secure with a hair tie below the screw ring.
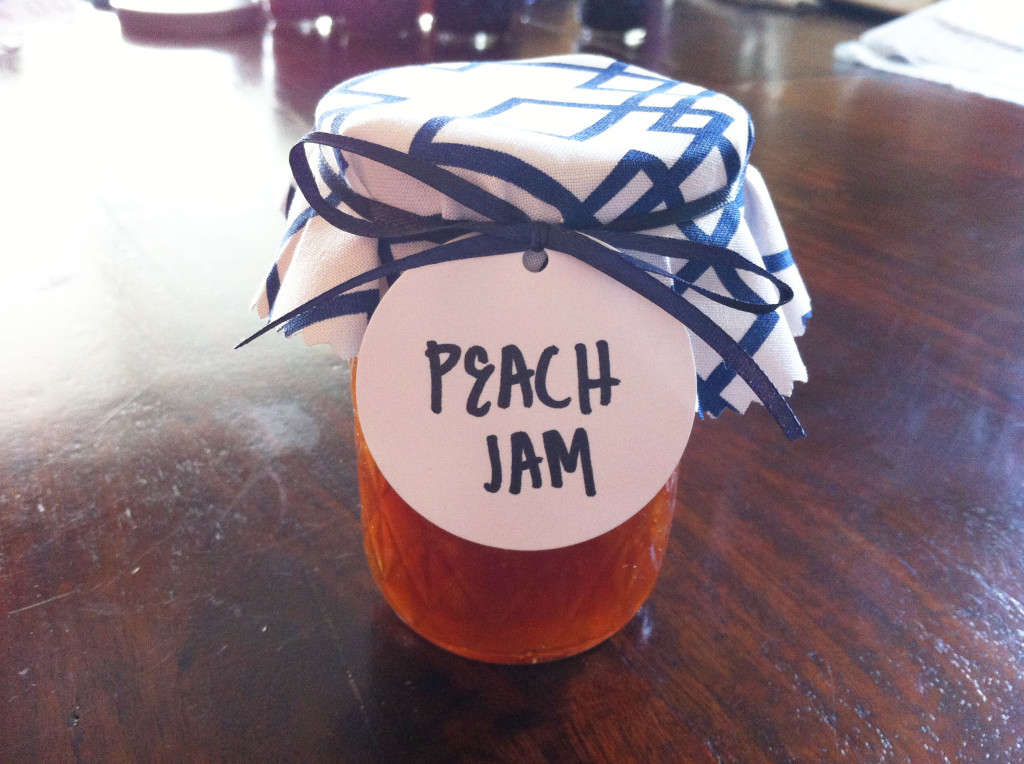
7. Loop a piece of ribbon around the height of your jar and necktie into a tight knot. Add a tag and tie into a bow.
This was the most time-consuming task for me because I didn't use elastic ribbon. Delight make your life easy and purchase the elastic ribbon, ladies!

viii. Cut excess ribbon.
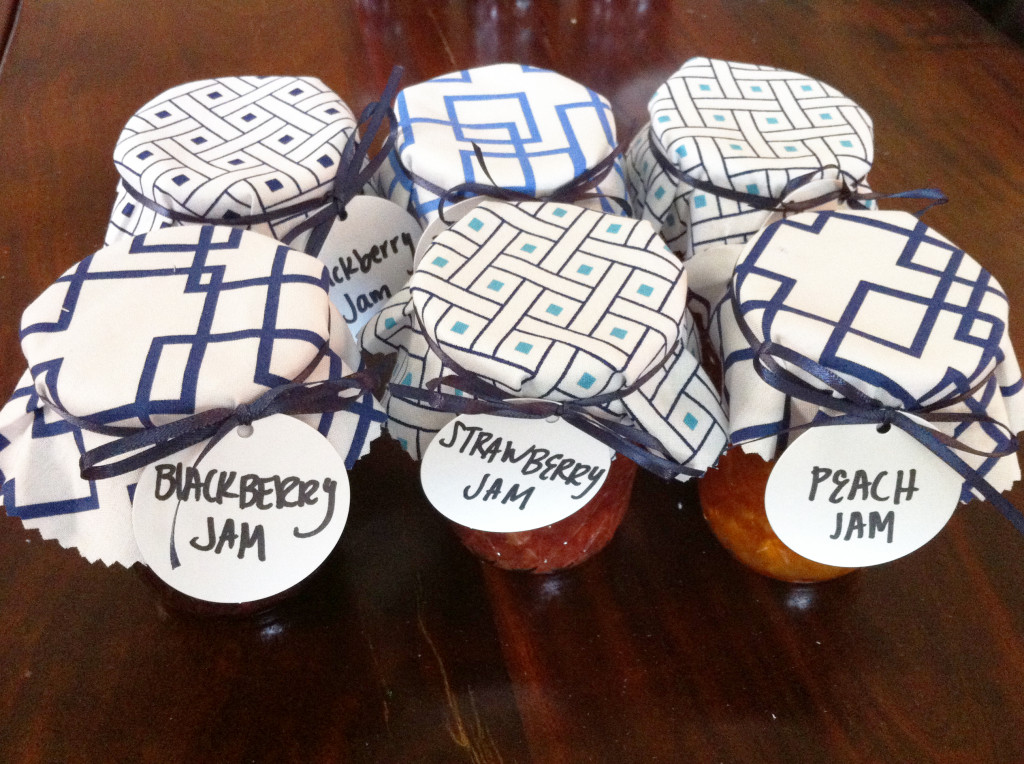
Ta-da!
9. Repeat steps 6-8 for remaining jars.
Now is the fourth dimension to Instagram pics showing off your craftiness! (Please tag me @kellymcnelis then I can come across!!)
Nitty-Gritty Directions (without pics)
- Iron your fabric to go rid of any lines and creases.
- Place your circular household item on the backside of your material and trace your circles with a pencil.
- Cut out the circles with your pinking shears.
- Cut your ribbon into strips that are 22.v″ long. (This is for 8oz and 4oz jelly jars. You'll need 24″ strips for quart-sized jars.)
- Write on your tags.
- Pick up your showtime jar and centre a cut piece of fabric on the top. Secure with a hair necktie below the screw band.
- Loop a slice of ribbon around the top of your jar and necktie into a tight knot. Add a tag and tie into a bow.
- Cut excess ribbon.
- Repeat steps 6-8 for remaining jars.
Tell me: What are you canning this year? Practise you have any other tips for making canned goods look super cute?
——————————-
PS Be sure to follow me on Pinterest @kellymcnelis for more recipes and fun DIYs!

Source: https://thefamilyfreezer.com/2013/08/12/fabric-jar-covers-diy/
0 Response to "What Size to Cut Material for Mason Jars"
Post a Comment